

Picture Wall
June 19, 2018I love to decorate and am constantly changing pictures, pillows, throws and carpets in my house simply because I get bored of it always looking the same. I definitely have a very girly style when it comes to decor, and my condo reflects this. It wasn’t so much a problem until my boyfriend moved in…. now I find my style a little more neutral with a little less pink…little being the key word. I’m lucky he’s pretty easy going about the décor scheme. One wall that always gets a lot of attention is my picture wall….and I must say I’m very happy with all the love it receives. I get asked all the time how I accumulated so many pictures and placed them together without it looking odd or out of sync. So here are some tips when trying to create a picture wall.
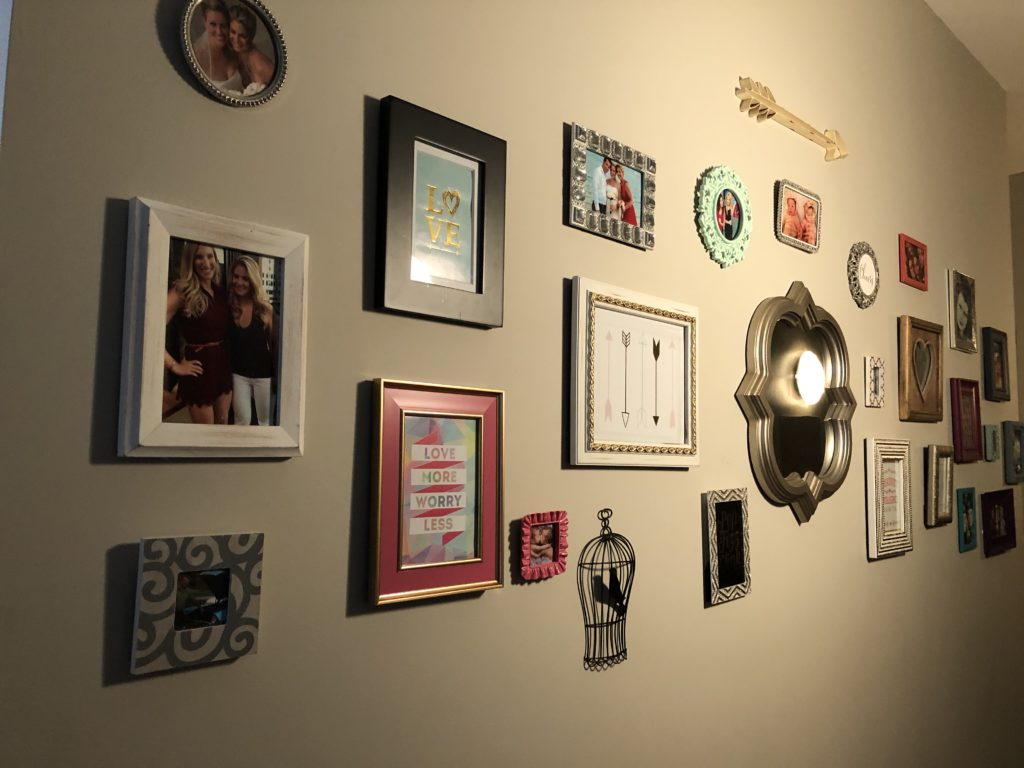
 First… pick the perfect wall. For me it was pretty easy. I live in a small condo in the Byward market so choosing a wall was pretty simple basically I had 1 option. When you walk into my condo there is a long skinny hallway which holds my shoe collection…. yes they’re on display it’s really the only way when you have a small space so I made it part of my décor. But the wall on the opposite side was just so bare and lonely I decided to make it my picture wall and distract people’s attention away from the overwhelming shoe collection.
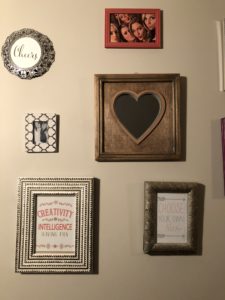
Second… I collected picture frames for months and months…. different shape, sizes, colors you name it. My favourite places for buying frames were Homesense, Winners, Michaels, and Walmart. I also bought a mirror for the middle focal point of the wall, and little wall art pieces like the arrow and bird cage…to add to the picture frames. Trust me it seems a little overwhelming I had about 30 frames in total and only about 20 made the wall….so now the rest are on rotation in my home. But I feel it’s better to have too many options than too little when it comes to frames. You’ll notice I also kept some quotes that were in the frames only because I loved them so much and the wall doesn’t need to be all photos.
Third…. print photos!!!! I feel like no one does this anymore…. but it was actually so much fun to go through photos print a bunch and match them to the frames. There are so many good printing booths. I just went to the Superstore and connected my phone to their booth and printed away…don’t worry if they’re not the best quality it’ll still look good in the frame. Don’t forget to print different sizes for your frames.
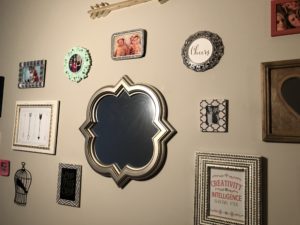
 Fourth… organizing!!! For this I invited my girlfriend Sophie over for a night of wine and organizing. She has a very good eye for décor, so I knew the two of us would get it right. We cleared out a space on my floor and just had fun moving and mixing frames around the mirror which we knew was going to be our center…once we had a good idea of how we wanted them arranged we took photos of how they were placed on the floor then started to add them to the wall.
Fifth…. hanging! We nailed the mirror into the wall first since we knew everything was centering around it. Then we started to add the frames. Most of the frames are attached with two-sided Velcro tape that you can find at Michaels or the Dollar Store. It’s made for walls, so it doesn’t take the paint off and its pretty strong, a few pieces should hold most of the frames. We did have to take off a few of the frames leg on the back…the thing that holds the frame up if you want it standing…. as some of them did get in the way while trying to hang it on the wall. If you get the pics up and think you need more the nice thing is, you can! If you also want to move pictures around its pretty easy for the taped ones…although you may need a few more pieces because they tend to not be sticky after you remove them once. Hope this little guide helps!
xx